Getting your shelfie on: A how to guide to putting up shelves
Now you might be a traditionalist and simply use shelves to house your vast book collections however in recent years it seems we have taken to using shelves in our homes as a decorative tool to display other items such as prints, ornaments and keepsakes.
Utilising wall space and adding shelving is also a great way of saving valuable floor space and with myriad of options available from picture ledge shelves to floating shelves and box shelves you can get really creative with your interior.
Lots of people are still confused about the best way to put up a shelf safely so read on for our how to guide.

Before you purchase:
Depending on what it is you are hoping to display, always check what weight it can support. Certain types of shelves like floating shelves are not suitable for large, heavy items. It’s also important to check the type of wall you are dealing with so you can determine the correct fixings. Is it masonry (bricks and mortar) or a stud wall? (timber batons with plasterboard)
Tools for the job:
- With safety in mind get hold of a pipe, cable and stud detector (also known as a multi-purpose digital detector). Use this to check there is nothing behind where you want to position the shelf. Nobody wants a nasty surprise when they start drilling!
- For a masonry wall you will need to use a drill with a masonry bit, at least 50mm screws and wall plugs and for stud walls, timber drive screws and brackets.
- Additional tools you’ll need depending on the wall type include masking tape, hammer, spirit level, screwdriver, pencil and safety goggles.
Spacing your brackets:
If you’re using a shelf with brackets then you’ll need to take the shelf material and load into consideration when spacing the brackets to ensure your shelf doesn’t sag. You can test this by placing the shelf on a stack of books with the bracket spacing you are intending to use. Place your items on the shelf and use a spirit level to ensure it is straight. If necessary position the brackets closer together. If that is not possible then you’ll need to consider using a shelf with a thicker material.
Putting up a fixed shelf with brackets
1. Hold the shelf against the wall at the preferred height and pencil where you’d like the bottom to go. Next, mark where the first bracket should be, as well as the distance to the next bracket. Use a spirit level to ensure it is straight or your shelf will slant.

2. Hold the first bracket up to the mark, check its straight and pencil the wall through the fixing holes. Do the same again for the second bracket. If there are more than two brackets, fit them between the outer brackets, equal distances apart.
3. Goggle time! Using a hammer drill for masonry walls drill into the wall where your marks are. To ensure the correct depth for the wall plugs, you can mark on the drill bit using tape. Insert the wall plugs into the holes and gently tap them in using your hammer so they sit flush. You can then fit the bracket(s) in place and slide on your shelf, ensuring to secure the fixing screws underneath.
Putting up a floating shelf

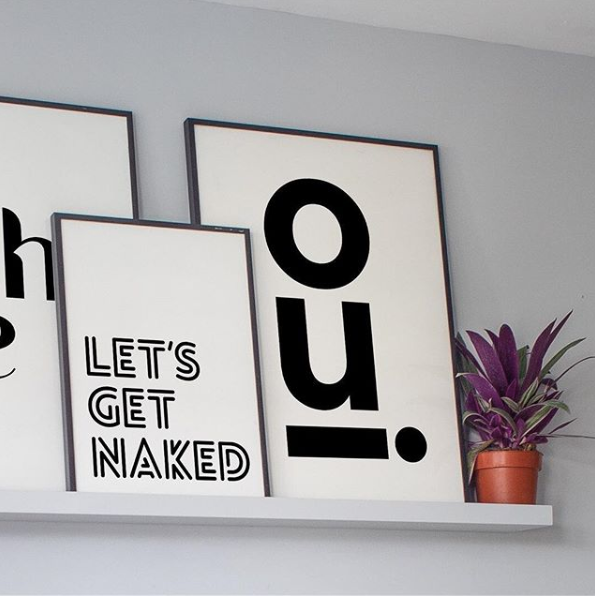
This type of shelf generally comes as a kit with the shelf already prepared. We love the Ikea Mosslanda picture ledge which is available in different lengths and styles.
Simply fix the supplied bracket to the wall, using the tips above. Usually the shelf is supported by two bards which slot into the pre-drilled shelf.
This type of shelf offers a clean minimal aesthetic without the need to worry about allowing room for the brackets. Do bear in mind however that this type of shelf isn’t as strong. Each shelf will have a maximum weight it can support so ensure to check when you purchase.
Happy shelfing!
20 comments
PlSfiuNOqyhD
FcZHCvsGiI
NMKAhwCIRdk
xWGYXoahTzM
ncNUoEeqA